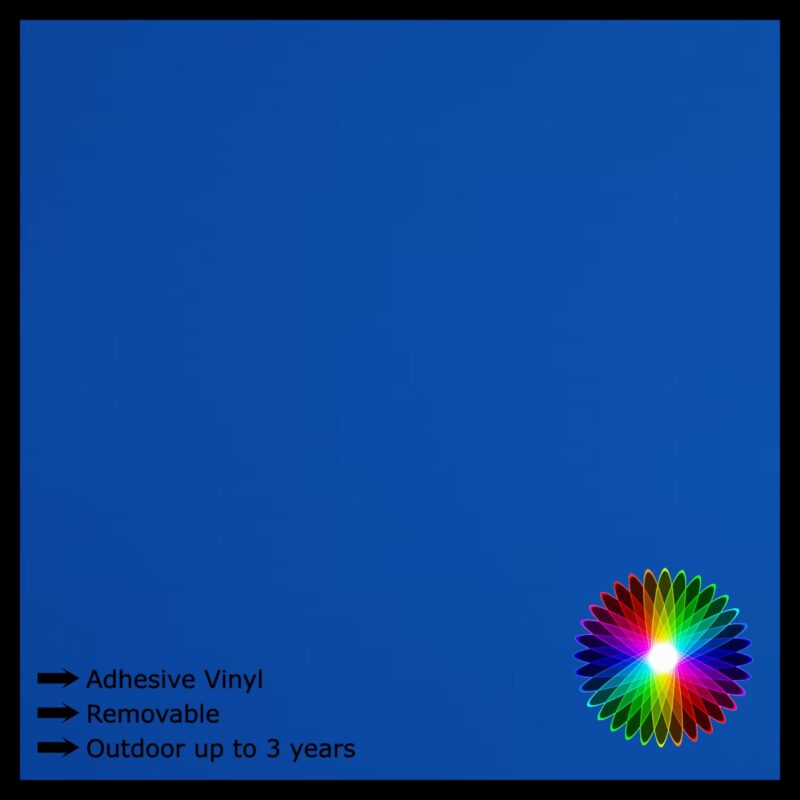
Removable Vinyl – Royal Blue
$1.29 – $5.50Price range: $1.29 through $5.50
Removable Vinyl
Removable Vinyl is ideal for internal wall and door decals, and for creating stencils for use with Glass Etching Cream.
Description
Removable Vinyl
Removable Vinyl is ideal for internal wall and door decals, and for creating stencils for use with Glass Etching Cream.
Short Description:
For indoor use for 5+ years. Removable from internal walls for up to 2 years from application. Outdoor use up to 3 years (depending on UV exposure).
For best results: Ensure blade is clean & sharp. Clean surface with isopropyl alcohol before applying vinyl. Best used on smooth, even surfaces. Allow 48 hours after application before wetting/washing item.
Long Description:
Knight HTV has partnered up with an industry leader in the adhesive vinyl sector, utilizing the latest technology in adhesives to bring you this unique Premium Craft Vinyl. This unique adhesive make the vinyl Removable, with high durability. When left to set correctly (48hours), our Premium Craft Vinyl will not easily lift – any removal must be deliberate – it absolutely will not ‘just fall off’ or begin to lift without any external forces!
Why use Removable Vinyl instead of Permanent Vinyl?
The main & most important difference between Removable Vinyl & Permanent Vinyl is when you deliberately remove this vinyl, it will not leave a sticky residue behind, or tear off the paintwork underneath, whereas Permanent Vinyl will. This makes it perfect for wall decals, and car decals on the paintwork, wedding signage, shopfront signage, or other signage which needs to updated regularly.
Transferring Removable Vinyl
Use Standard Tack Transfer Tape with our Removable Vinyl – occasionally you may find a little residue from the transfer tape on your transferred decal, just use a little isopropyl alcohol & a tissue to wipe it straight off.
If you find that your decal isn’t coming up onto your transfer tape easily, it is likely that your vinyl was just cut a little too deep. That’s ok, your decal is not ruined! It will just take a little more time & patience to get it to the transfer tape. It is NOT a good idea to switch to Strong Tack Transfer Tape in this situation – it will be very difficult to get back off that tape! Make a note, so next time you can try a little lighter cut settings.
Before transferring your decal, clean your item with isopropyl alcohol to ensure the surface is free from dust, fingerprints, or any other film/lint that may be present. Once you are satisfied that it is clean, make the transfer. Use a scraper, or a credit card or similar, to stick the decal down well, then pull the transfer tape off.
Transfer Tips:
If you find your decal is sticking to the transfer tape instead of your item, try folding the transfer tape right over against itself when removing (non-sticky side flat against non-sticky side), this angle just works – providing the scraping has been done effectively.
If you are still struggling to get the decal onto your item, you can warm it slightly, with a hair dryer or heat gun, but please be careful not to burn yourself! When your item is too cold, like a glass window in winter for example, the adhesive doesn’t activate as well as it does at regular room temperatures (20-25 degrees usually) so warming it a little will help activate the adhesive & release the transfer adhesive.
Cut Settings:
For my Silhouette Cameo (3&4), I have found force 2, thickness 11 & speed 6 to be great for regular cutting work with this Removable Vinyl. For easy, large designs, the speed can be a lot higher, and for more intricate designs, slow it down to 2 or 3.
**PLEASE NOTE**
We do our best to get the best colour representation for every product as close as we can. Due to differences in cameras, screens, perceptions & lighting, colours may vary from what you see on the screen to the product you receive. All pictures are genuine photos of the product.
Additional information
| Product Size | 8x10inch (approx. A4), 12×12 inch (standard mat size), 12 inch wide per metre |
|---|
Only logged in customers who have purchased this product may leave a review.
Related products
-

Removable Vinyl – Light Green
$1.29 – $5.50Price range: $1.29 through $5.50 Select options This product has multiple variants. The options may be chosen on the product page -

Removable Vinyl – Chrome Rose Gold
$1.69 – $8.78Price range: $1.69 through $8.78 Select options This product has multiple variants. The options may be chosen on the product page -

Removable Vinyl – Blue
$1.29 – $5.50Price range: $1.29 through $5.50 Select options This product has multiple variants. The options may be chosen on the product page -

Removable Vinyl – Medium Red
$1.29 – $5.50Price range: $1.29 through $5.50 Select options This product has multiple variants. The options may be chosen on the product page


Reviews
There are no reviews yet.